Zapier Integration
Seamlessly integrate multiple apps with SMSPortal.
Once you have signed up with Zapier, simply follow these steps below to integrate with SMSPortal, and start sending via your chosen application.
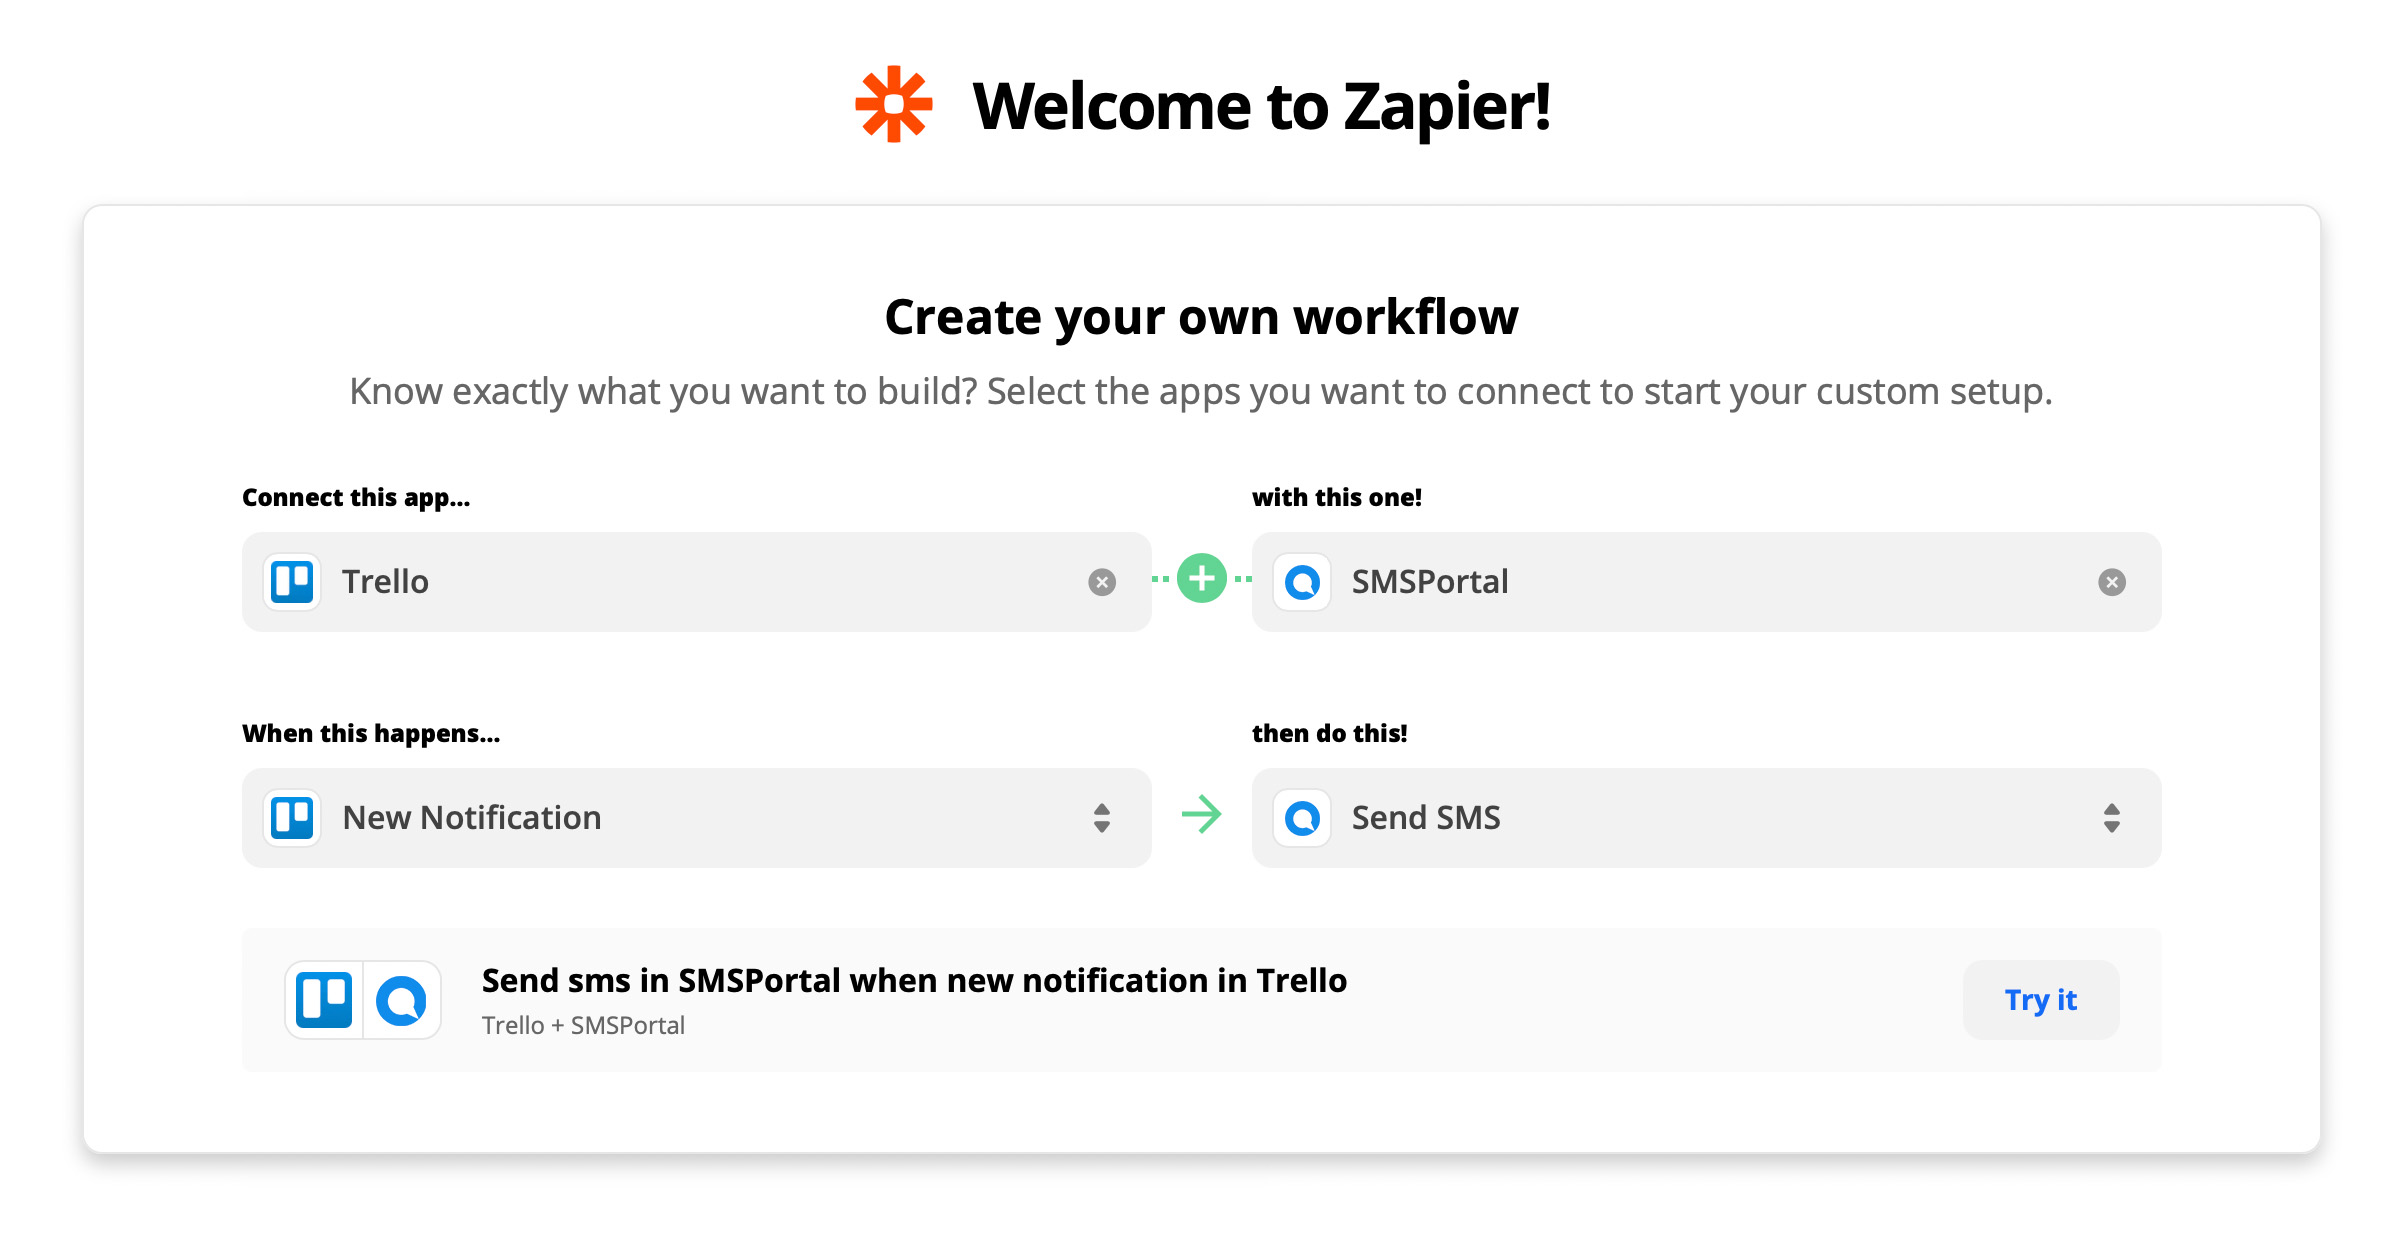
1. Create your own workflow
Step 1: Select the apps you wish to connect with from the available list:
- To trigger an action when receiving replies, select Webhooks by Zapier as the first app.
- To send an SMS as an action, select SMSPortal as the second app.
Step 2: If using Webhooks by Zapier as the trigger:
- Choose Catch Raw Hook and copy the webhook URL Zapier provides
- In your SMSPortal account, go to Settings > Webhooks and create a new MO Webhook.
- Paste the Zapier webhook URL into the MO webhook field, test the webhook and then save the webhook. Once saved remember to assign the webhook to your sending channel.
Step 3: If SMSPortal is selected as the second app:
- Choose either "Schedule an SMS" or "Send SMS" as the action.
Step 4: Click "Try It".

2. Connect Zapier with your selected Application
There are 2 ways to use Zapier with SMSPortal:
Option 1: Use a reply (MO message) as a trigger.
- Set Webhooks by Zapier as the first step and link the Zapier-provided webhook to your SMSPortal MO webhook.
Option 2: Using an action in a different App to trigger an SMS with SMSPortal.
- In this case, select SMSPortal as the action step.
3. Connect Zapier with your SMSPortal Account
During your setup, Zapier will request that you connect your SMSPortal account with Zapier. The credentials within your SMSPortal account can be setup or found in the "Settings > API Keys" section of your account.
Ensure that the REST API is enabled and that you have generated the API ClientID and API Secret.
- To enable the REST API, click the "+ Create API Key" button and select "REST" from the drop-down menu.
- Select the "Auto-generate credentials" option.
Once you have generated your REST API credentials, please go to your Zapier connection and click "Connect", and fill in your credentials to connect your app.
Please note: If these credentials are already in use, please do not generate new credentials as this will break any current ones.
4. Map Fields
Two fields must be mapped in order to trigger/send a message.
-
Destination: This field must contain the destination number that you wish to send your message to. Please include it in the international sending format.
-
Message: This field is used to retrieve the message content that will be sent.
5. Test your Integration
Inspect your Zap that you are about to create, and click "Send Test" to test send a message to the number from your destination field.
6. Review and Turn on your Zap
Once you are happy with your test, click "Turn On Zap", and your Zap will now be switched on and working.

7. Assign your Zap to your "Post MO" Webhook (New Reply only)
If you are using Webhooks by Zapier as your first trigger, always check that your webhooks have been assigned to you sending channel either under the "Account Settings" and "Forwarding" section of your SMSPortal account, by selecting your webhook under the "Post MO (Reply)" field or in your API Key settings.
Updated 2 months ago